Showing posts with label dessert. Show all posts

Tuesday, September 3, 2013

Grasshopper Pie

A pie for the books
Chocolate and peppermint
Creamy, dreamy, bliss


Grasshopper Pie
Adapted from Keebler

Ingredients:
1 Oreo cookie crust
8 oz cream cheese
3/4 cups sweetened condensed milk
1/2 tsp peppermint extract
1/4 tsp vanilla extract
8 drops green food coloring (about 1/8 tsp) - optional
8 oz Cool Whip, thawed
16-20 Keebler Grasshopper Cookies, crushed into small pieces*

*You can put the cookies in the freezer for 10-15 minutes for easier crushing (so the chocolate coating doesn't melt).  If you want cookies for decoration on top of the pie, you will end up using a whole package (half for crushing, half for decorating).


Directions:
1.  Beat the cream cheese with an electric (hand-held or stand) mixer until fluffy.  Add the sweetened condensed milk, extracts, and coloring (if using).  Beat until smooth.

2.  Fold the Cool Whip into the cream cheese mixture.  Gently fold in the cookie pieces.

3.  Pour the mixture into the prepared pie crust.  Cover and chill for at least three hours before serving.

Sunday, February 10, 2013

Coeur a la Creme

The heart of the cream
Traditional French dessert
Whispers of cheesecake

Coeur a la Creme
Adapted from Treats

Ingredients:
8 oz cream cheese
8 oz sour cream
1/3 cup powdered sugar
1 tsp fresh lemon juice
1 tsp vanilla extract

strawberries
powdered sugar

*You will need cheesecloth for this recipe

**Traditional Coeur a la Creme is made in a heart-shaped ceramic mold which has holes in the bottom.  You can use almost any perforated food-safe vessel, though.  It needs to hold about 2.5 cups and you must be able to suspend it over a bowl (to catch the small amount of liquid that will seep out).  I used a mesh strainer.

Directions:
1.  Line your mold with a 2-ply layer of cheesecloth, leaving enough hanging over the edge that you will be able to fold it over the top of the filling.

2.  Place the cream cheese in the bowl of a standing mixer.  Using the whisk attachment, whip the cream cheese until smooth and soft.

3.  Add the sour cream, the 1/3 cup of powdered sugar, lemon juice, and vanilla to the bowl with the cream cheese.  Whip until the mixture is smooth and creamy.

4.  Pour the mixture into the prepared mold.  Fold the ends of the cheesecloth over the top of the mixture.  Cover the mold with a lid or plastic wrap.  Refrigerate for 8 hours or overnight.

5.  Strawberries are delicious with Coeur a la Creme (as are many other berries and fruits). To prepare: remove the hulls, chop the berries, dust with powdered sugar (to taste), and toss gently to coat (the sugar will melt into the berries).

5.  Unfold the ends of the cheesecloth.  Invert the mixture onto a plate.  Discard the cheesecloth and liquid.  Serve!


Friday, February 8, 2013

White Chocolate Frosting For Brownies

Creamy white chocolate
Atop deep, dark decadence
Delight and indulge!

White Chocolate Frosting (for brownies)

Ingredients:
9 oz white chocolate, chopped or chips
2 tbsp heavy cream
3 tbsp butter, softened

Directions:

*The frosting should be prepared while your brownies are baking.

**This recipe covers a 9X9 pan of brownies.

1.  Place the white chocolate in a medium bowl.  Melt in the microwave, stopping to stir often.  Heat until the white chocolate is just melted - do not overheat!

2.  Add the cream and the butter to the white chocolate.  Stir.  Microwave for just a bit more if necessary to melt the butter.  Stir until smooth.

*The mixture may look separated and oily at this point.  Don't worry!  As it cools, it will come together when you stir it.

3. Let the frosting rest - it should cool, but still be warm enough to spread (if it gets too cool, you can put it back in the microwave for 6-10 seconds and restir).

4.  Let your fresh-baked brownies cool until warm (you want the frosting to melt a bit into the brownies so the layer doesn't separate, but you don't want it to liquify).  Spread the frosting evenly over the brownies - go slow and be gentle so you don't peel up the papery chocolate top.  Piping is a big time saver here!

5.  Let the brownies cool completely.  Serve!

Sunday, January 13, 2013

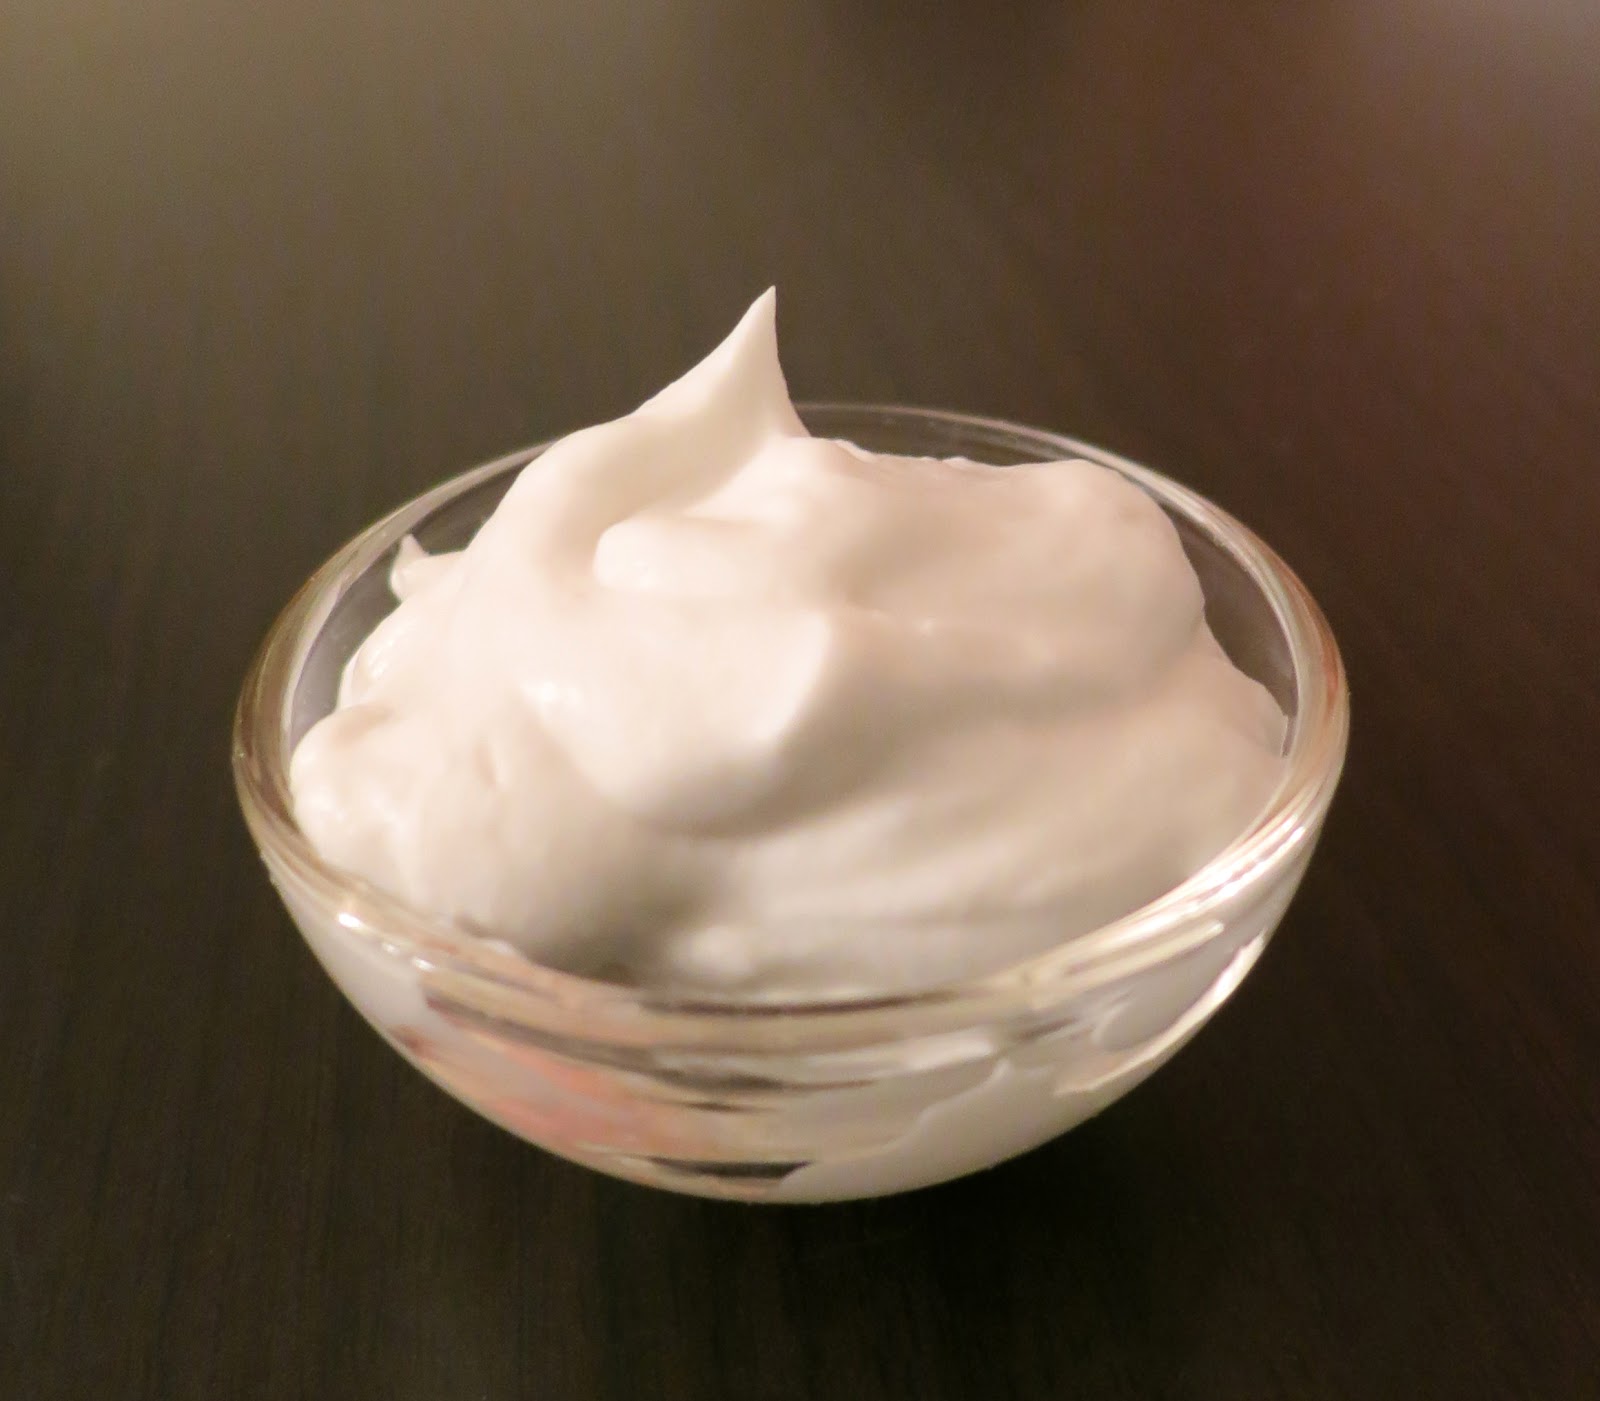
Coconut Whipped Cream

Hint of coconut
Fluffy, creamy, delicious
Watch it disappear

Coconut Whipped Cream
Katie Christy

Ingredients:
13.5/14 oz can coconut milk*
1/2 cup heavy cream (cold)**
1/2 tsp vanilla extract
1/2 cup marshmallow creme

*Chill the can of coconut milk until cold (3 or more hours).  Do not shake the can - you want to keep the cream separate from the water.

**If you do not want dairy, simply double up on the coconut milk/cream and omit the heavy cream.  It will be just as creamy, but the coconut flavor will be more assertive.

Directions:
1.  Use a spoon to scoop the coconut cream from the top half of the can of coconut milk.  Leave the coconut water, it will not be used in this recipe (but can be saved for use in sauces, smoothies, etc).

2.  Combine the coconut cream and the remaining ingredients in the bowl of an electric mixer (alternately, you can use a handheld electric mixer).  Whip the ingredients with the whisk attachment until fluffy and creamy.  Serve!

Because of the marshmallow, this whipped topping stays fluffy in the refrigerator!  It is fabulous on cakes, pies, custards...or by the spoonful!

Friday, July 27, 2012

Frozen Lemon Cream Bars


Creamy lemon bliss
Atop a buttery crust
Summer temptation

Frozen Lemon Cream Bars

Ingredients:
Crust -
8 graham crackers, crushed into crumbs
44 Ritz crackers (1 sleeve), crushed into crumbs
3/8 cup (6 tbsp) powdered sugar
1/2 cup butter, butter

*Lemon Curd -
1 cup lemon juice (from about 6-8 lemons)
6 eggs
3 yolks
1 1/2 cups sugar
6 tbsp cold butter, cut into 1/2" pieces
3 tbsp heavy cream
3/4 tsp vanilla extract

8 oz tub Cool Whip, thawed

*You can use store-bought curd - you will need 20 oz.

Directions:
1.  For the Crust: in a medium bowl, toss together the graham cracker crumbs, the Ritz cracker crumbs, and the powdered sugar.  

2.  Toss the melted butter with the crumb mixture until well blended.

3.  Press the crust into a 9" X 13" baking dish.  Cover and freeze.

4.  For the Curd: heat the lemon juice in a large saucepan set over medium heat.  Heat until hot, but not simmering.

5.  While the juice heats, whisk the eggs and yolks in a medium bowl.  Whisk in the sugar until smooth.

6.  Slowly whisk the hot lemon juice into the egg mixture.  Return the mixture to the pan.

7.  Cook over medium heat, stirring constantly, until the mixture reaches 170° (about 3 minutes).  Remove the pan from the heat.

8.  Stir in the butter until melted.  Stir in the cream and vanilla.

9.  Set a fine mesh strainer over a large heat-proof bowl.  Strain the mixture into the bowl.  Place plastic wrap directly on the curd (to prevent a skin from forming).

10.  Cover the bowl and allow the curd to cool completely.  Chill until all the way cold.

11.  Gently fold the cold lemon curd into the Cool Whip until no streaks remain.

12.  Spread the filling evenly into the cold crust.  Cover and freeze until firm (about 4 hours).  Serve!

Tuesday, June 26, 2012

Maple Chocolate Pots de Creme

Happy National Chocolate Pudding Day - hooray!
Pots de Creme: a French pudding, like a heavenly cross between custard and ganache, is just oh so good.  The perfect celebratory treat for this festive day.

Maple Chocolate Pots de Creme
Pots de Creme Adapted from America's Test Kitchen
Whipped Cream Adapted from Food.com

Ingredients:
Pots de Creme - 
10 oz semi-sweet chocolate, chopped or chips
5 large egg yolks
2 tbsp brown sugar
1/4 tsp salt
1/2 cup pure maple syrup (Grade B is preferable, but A is fine)
1 3/4 cups heavy cream
1 tbsp vanilla
1/8 tsp maple flavoring

Maple Cream -
2 1/2 tsp unflavored gelatin powder
4 tsp cold water
1 cup heavy cream
1/4 cup pure maple syrup (Grade B is preferable, but A is fine)

*Many pots de creme are cooked in a water bath in the oven.  This recipe is finished on the stove.  The results are great - very silky smooth, and never under or over cooked!

Directions:
1.  Get ready eight 5 oz ramekins (I used slightly larger glass bowls).  Set aside.

2.  For the Pots de Creme: place the chocolate in a medium bowl (a pourable bowl is best).  Microwave until nearly melted.  Place a medium-sized fine mesh strainer over the bowl.  Set aside.

3.  Whisk the yolks, sugar, salt, and syrup together in a medium bowl.  Whisk in the cream.  Pour the mixture into a medium saucepan.

4.  Set the pan over medium-low heat.  Cook, stirring constantly, until the mixture reaches 175°-180°.  Do not allow the mixture to come to a simmer.

5.  Pour the mixture through the strainer, over the chocolate.  Remove the strainer and allow the mixture to sit for five minutes (this will give the chocolate time to melt completely).

6.  Whisk the mixture until smooth.  Whisk in the vanilla extract and the maple flavoring.

7.  Divide the mixture between the ramekins.  Tap each ramekin gently on the counter to remove any air bubbles.  Allow the pots de creme to come to room temperature.

8.  Cover and chill the pots de creme until cold and set - about four hours.

9.  For the Maple Cream: combine the gelatin and water in a small bowl.  Let sit for five minutes (so the gelatin can fully absorb the water).

10.  Microwave the gelatin until it is just dissolved (about 10-20 seconds).  Set aside.

11.  Meanwhile, combine the cream and syrup in the bowl of a stand mixer (this works best if you chill the cream, bowl, and whisk briefly in the freezer beforehand).  Whisk the mixture until it has thickened - almost to soft peaks.

12.  Turn off the mixer.  Quickly add the gelatin mixture.  Quickly turn the mixer back on high to incorporate the gelatin (speed prevents the gelatin from clumping).  Whisk to stiff peaks.

13.  Serve the pots de creme topped with the maple cream.  Enjoy!


Friday, February 17, 2012

Jello Jigglers

As Valentine's Day approached, my daughter's Kindergarten teacher asked if I'd like to make the class a treat for their party.  Sure, I said, as visions of cookies and cupcakes and brownies filled my head.  But those weren't what she had in mind.  The treat du jour - Jello Jigglers.
Now, I'd never made Jello Jigglers before.  But why not?  They're fun, and fruity, and wiggly - and really, they couldn't be easier!  I got to work and came up with a festive platter.
For the platter I made half-batches of the box recipe - watermelon, strawberry, and raspberry.  I also did a strawberries & cream flavor based on a Jello dessert that I saw on Brown Eyed Baker.
I was intrigued.  Jiggler Mania had stuck.  With St Patty's Day coming up, I wanted to make more, more, more! I started with another Jello & Cream flavor - this time using lime and a shamrock cutter.
What I really wanted to do, though, was a rainbow jiggler (see the top pic).  It did take some time to complete and there was quite a bit of room for error - the layers couldn't be too hot or too cold or I risked meltage and separation.  It ended up being a fun project, though, and I love the way it turned out.  
My son, who's never before had Jigglers, quite approves of the whole endeavor and has been a very willing and happy taster!
Easter Jigglers?  Indeed!


Variety of Jigglers
Fruity Layers from Jello
Creamy Layers adapted from Knox & Brown Eyed Baker

Standard Jigglers

Ingredients:
1 1/4 cups water
2 3-oz boxes Jello

Directions:
1.  Very lightly spray an 8" X 8" or 9" X 9" baking dish with oil.  Use a napkin to wipe the dish, removing any excess oil (only a slight residue is needed).

2.  Bring the water to a boil in a small saucepan.  Remove the pan from the heat.  Add the Jello.  Stir for a few minutes until the gelatin is completely dissolved.

3.  Pour the mixture into the prepared dish.  Chill for 4 hours or until completely set.

4.  Cut into shapes with a lightly oiled cutter or knife (cubes will result in no scraps) and serve!


Creamy Jigglers

Ingredients:
1 cup of hot water
2 packets of Knox unflavored gelatin
1 cup sweetened condensed milk
1/8 tsp vanilla extract

Directions:
1.  Very lightly spray an 8" X 8" or 9" X 9" baking dish with oil.  Use a napkin to wipe the dish, removing any excess oil (only a slight residue is needed).

2.  Stir 1/2 cup of the water together with the gelatin in a small bowl.  Set aside for five minutes so that the gelatin can hydrate.

3.  Microwave the mixture for 30 seconds.  Stir until the gelatin is completely dissolved.  Heat a bit longer if needed.

4.  Stir the gelatin mixture together with the remaining 1/2 cup of hot water in a medium bowl or large liquid measuring cup.  Stir in the condensed milk and vanilla until well-blended.

5.  Pour the mixture into the prepared dish.  Chill for 4 hours or until completely set.

6.   Cut into shapes with a lightly oiled cutter or knife (cubes will result in no scraps) and serve!


Jello & Cream Jigglers

Ingredients:
1 recipe Standard Jigglers*
1 recipe Creamy Jigglers

*I preferred my Jello & Cream Jigglers using only a half batch of the Standard Jigglers recipe above.  The other half is perfect for just eating as-is!

Directions:
1.  Very lightly spray a 9" X 13" baking dish with oil.  Use a napkin to wipe the dish, removing any excess oil (only a slight residue is needed).

2.  Prepare the Standard Jigglers and allow to set completely.

3.  Cut the Jigglers into very small pieces (1/4" cubes are nice).  Scatter the pieces in to the prepared baking dish.

4.  Prepare the Creamy Jigglers through Step 4.  The mixture needs to be warm, but not hot or you will melt the Jello pieces.  Let cool a bit if necessary.

5.  Gently pour the mixture into the prepared dish.  Chill for 4 hours or until completely set.

6.   Cut into shapes with a lightly oiled cutter or knife (cubes will result in no scraps) and serve!


Rainbow Jigglers

Ingredients:
Water
3-oz box Jello in the following flavors:
Strawberry
Orange
Lemon
Lime
Berry-Blue
Grape

*Be careful when you pour a layer of gelatin over a set layer.  The instructions tell you to cool the mixture for 15 minutes, which is what worked for me.  If it is really cold in your kitchen, it may take less time - or if very hot, it might take more.  The gelatin needs to be warm to adhere to the set layer (otherwise the layers won't stick together).  If it is hot, though, it will melt the bottom layer and the colors will mix.

Directions:
1.  Very lightly spray a 9" X 13" baking dish with oil.  Use a napkin to wipe the dish, removing any excess oil (only a slight residue is needed).

2.  Bring 1/2 cup + 2 tbsp water to a boil in a small saucepan.  Remove the pan from the heat.  Add the Grape Jello.  Stir for a few minutes until the gelatin is completely dissolved.

3.  Pour the mixture into the prepared dish (tilt the dish as needed to achieve even coverage).  Chill until set.

4.  Bring 1/2 cup + 2 tbsp water to a boil in a small saucepan.  Remove the pan from the heat.  Add the Berry-Blue Jello.  Stir for a few minutes until the gelatin is completely dissolved.

5.  Cool the mixture for 15 minutes.

5.  Pour the mixture into the dish (tilt the dish as needed to achieve even coverage).  Chill until set.

6.  Bring 1/2 cup + 2 tbsp water to a boil in a small saucepan.  Remove the pan from the heat.  Add the Lime Jello.  Stir for a few minutes until the gelatin is completely dissolved.

7.  Cool the mixture for 15 minutes.

8.  Pour the mixture into the dish (tilt the dish as needed to achieve even coverage).  Chill until set.

9.  Bring 1/2 cup + 2 tbsp water to a boil in a small saucepan.  Remove the pan from the heat.  Add the Lemon Jello.  Stir for a few minutes until the gelatin is completely dissolved.

10.  Cool the mixture for 15 minutes.

11.  Pour the mixture into the dish (tilt the dish as needed to achieve even coverage).  Chill until set.

12.  Bring 1/2 cup + 2 tbsp water to a boil in a small saucepan.  Remove the pan from the heat.  Add the Orange Jello.  Stir for a few minutes until the gelatin is completely dissolved.

13.  Cool the mixture for 15 minutes.

14.  Pour the mixture into the dish (tilt the dish as needed to achieve even coverage).  Chill until set.

15.  Bring 1/2 cup + 2 tbsp water to a boil in a small saucepan.  Remove the pan from the heat.  Add the Strawberry Jello.  Stir for a few minutes until the gelatin is completely dissolved.

16.  Cool the mixture for 15 minutes.

17.  Pour the mixture into the dish (tilt the dish as needed to achieve even coverage).  Chill until completely set.

18.  Cut into shapes with a lightly oiled cutter or knife (cubes will result in no scraps) and serve!


Related Posts Plugin for WordPress, Blogger...