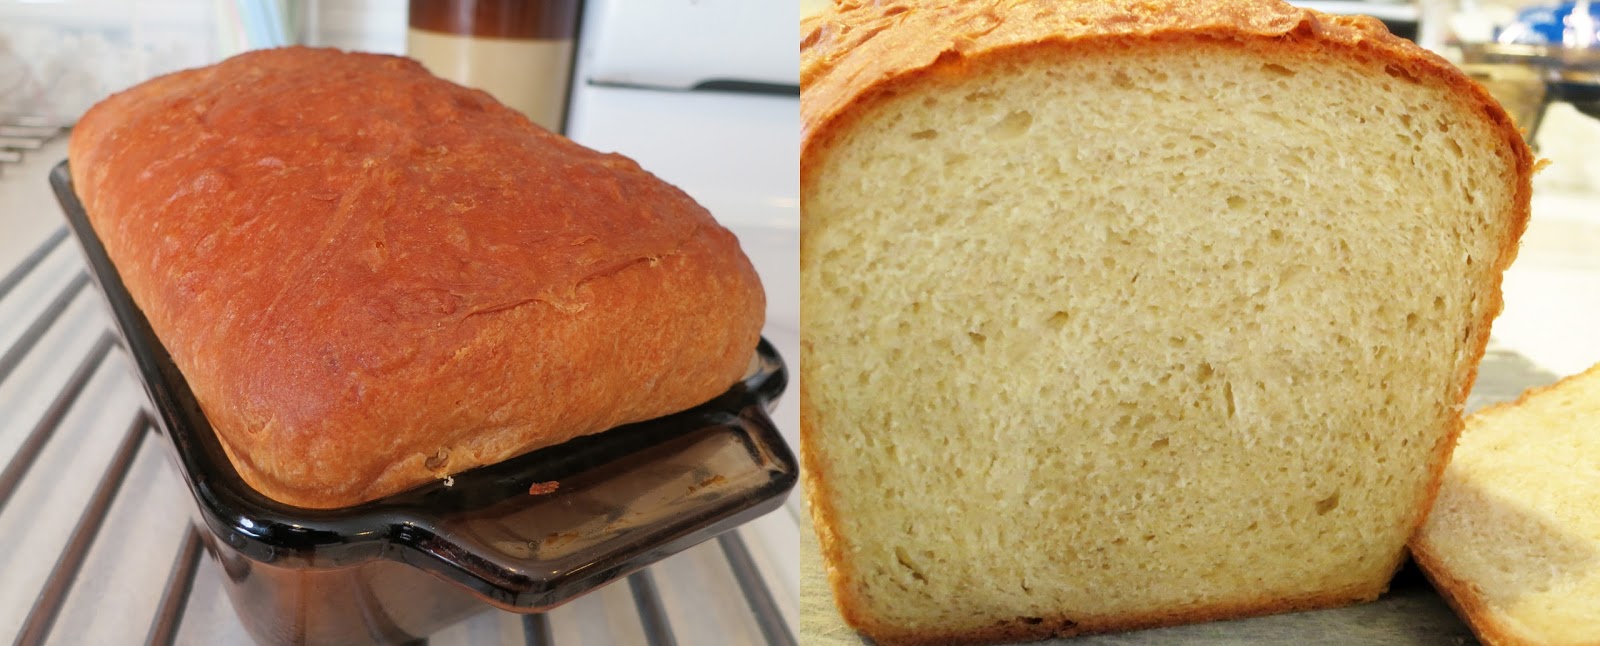
Beyond sandwich bread
Grains of wheat and corn transformed
It's baking magic
Masa Sandwich Bread
Ingredients:
1/3 cup tepid water (about 100° - a little warmer than body temp)
1 pkg dry yeast
3 cups unbleached, all-purpose flour + 1-2 tbsp
1/2 cup masa
2 tsp salt
1 1/4 cup milk
3 tbsp honey
3 tbsp butter, melted (plus about 1 tbsp for brushing on the finished loaf)
Directions:
1. Stir the water and yeast together in a small bowl. Let sit for five minutes to allow the yeast to bloom.
2. Combine 3 cups of the flour, the masa, and salt in the bowl of a stand mixer. Use a wooden spoon to mix. Make a well in the center. Set aside.
3. In a large liquid measuring cup, combine the milk and honey. Microwave until just warm (110°). Stir in the 3 tbsp melted butter.
4. Pour the liquid ingredients and yeast mixture into the dry. Use the wooden spoon to mix everything together. Cover and let rest for five minutes (the masa will absorb some of the liquid).
5. Place the bowl on the mixer with a dough hook. Turn the machine on medium and let it knead for 5 minutes.
6. Check the dough. It should be sticking to the bottom of the bowl, but not the sides. If it is sticking to the sides, add more flour a tablespoon at a time as needed. If the dough is not sticking to the bottom, add 1 tbsp more water. Turn the machine back on medium and let it knead for 5 more minutes.
7. Knead the dough a few times by hand and form it into a fairly smooth ball. Place the dough into a lightly oiled bowl (the mixer bowl is perfect). Lightly oil the top of the dough. Cover the bowl with plastic wrap and let rise at room temperature for 2 hours or until doubled in size.
8. Gently press the dough down to expel the air. Reform the dough into a ball. Lightly oil the top. Place the dough back into the bowl, cover, and let rise for another hour or until doubled in size.
9. You may skip to Step 10 here if you are short on time. This step provides extra flavor development and improved texture. Gently press the dough down to expel the air. Reform the dough into a ball. Lightly oil the top, cover, and let rise for another hour or until doubled in size.
11. Grease a 9" X 5" loaf pan.
12. Gently press the dough down to expel the air. Press the dough into a rectangle, about an inch thick, and about 8 inches wide, with a short side facing you. Begin rolling the dough into a cylinder, pressing as you go to avoid air pockets. Place the cylinder, seam-side down, in the prepared pan. Lightly oil the top of the dough. Cover very loosely with plastic wrap. Let rise for 45 minutes or until doubled in size.
13. When the dough is almost fully risen, preheat the oven to 350°.
14. Place 2 cups of water in an empty oven-safe container (a Pyrex loaf pan is perfect). Microwave the water until simmering. Carefully place the container of water in the oven. This will provide steam for the bread as it cooks.
15. Place the loaf into the oven and bake until it reaches an internal temperature of 195° (about 40-50 minutes). Remove the bread from the pan and set it on a cooling rack. Brush the top with melted butter. Let cool completely.
16. Slice, serve, & enjoy!
*This bread is terrific all on its own, or toasted with butter. It also makes an outstanding sandwich! I made my last loaf into grilled cheese sandwiches using a recipe for DIY American Cheese (which tastes so much better than those slices at the grocery store, but still melts beautifully). Too good not to share! Check out the recipe at Brown Eyed Baker.